Poppy Playtime Chapter 4expands the lore of the seriesin a meaningful way. There’s no doubt that it provides a decent gameplay experience, but the brilliance of the series shines when it comes to the world building it does through the main story and collectible items.
The VHS tapes found across the map are good for getting a handle on the different characters that come up in the series, but the notes give a much more detailed account of what is happening in this underground facility. There are more than 20 notes in chapter 4, and not all of them are easy to find.

Caution: Red Smoke
When you first start up the fourth chapter, you areplaced in a simple tutorial section. Solving the first puzzle is quite easy, as it is meant to be a tutorial. Simply use your grab pack to swing across a small gap, get a battery, put it in a slot next to a hand scanner, and use the scanner to open the door. Go down the path that opens up and turn into the room to your left rather than going into Caves 1A. You’ll find a note inside that room next to a TV on a table.
The note is a work-related missive from the constructive company to its employees regarding red smoke, reminding them that it is highly combustible. It’s worth noting that using the flare gun in environments with red smoke doesn’t kill the player, despite the warning that this note gives.

Riley’s Journal: Entry #1
In Caves 1Aat the start of the game, you’ll reach a massive room filled with mountains of what seem to be discarded toys. This toy graveyard is mostly dark, but a few flickering lights show the path. Under the first flickering light, you’ll see a barrel. The first entry of Riley’s Journal is on top of that barrel.
The journal belongs to someone named Riley, who was brought into the orphanage that Playcare ran. She talks about how she ended up here, and decides to start making lists in her entries on the advice of a nice counselor. There’s a list of things that are important to her right now, and why those things are important.

Riley’s Journal: Entry #2
Keep going forward on the path in the Toy Graveyard, and you’ll come across another barrel with a note on top of it. This note is the second entry in Riley’s journal. It describesthe adoption process that Riley goes through, and how she ends up being chosen by the Doctor. She is excited about the future and hopes that she can be the girl that her parents raised so a part of them will live on through her.
Riley’s Journal: Entry #3
The third entry in Riley’s Journal is a little harder to find, as it is on amore secret path. When you reach the end of the Toy Graveyard and the gate of the prison section, floodlights will come on, and small toys will start swarming. Survive this swarm and once things calm down, go down the path opposite to the gate to reach a crashed truck. There will be a note next to it.
In this entry, Riley’s story takes a dark turn, and she tells the readers about her transformation. She was put under anesthesia, operated on, and when she woke up she wasn’t in her own body and in great pain.

Riley’s Journal: Entry #4
The fourth entry in Riley’s journal isnear the main prison doorat the end of the Toy Graveyard, the area that locks down when the player gets near it. It is on top of a crate next to a small flight of stairs.
In this entry, Riley talks about her experience during the Hour incident. Her room started moving and then suddenly crashed. She comes outside after some hesitation, and freaks out when she sees the sea of bodies surrounding her. Later, she goes back into her room, which she thinks is safe.
Riley’s Journal: Entry #5
The last entry of Riley’s Journal is next to the body of a security guard beside the door of the security room forthe prison blocks in the train station area. It is on the ground and can be easily picked up, giving the player a hint regarding what to do next.
In this entry, Riley says that there isn’t any food available, only dead bodies, which she refuses to eat. She says she’s going to take the key from the conductor and hide it somewhere nobody can find it so that nobody can operate the train, hence stopping the transport of children for these twisted experiments.

Weekly Checkup: 1172
The Weekly Checkup Report for Subject 1172 can be found on the upper floor of the prison cell blocks, in a prison cell near the red flashing light. The door to the prison cell opens slightly when the player approaches it. It doesn’t seem to openafter the player gets the red handfrom the lower floor.
The report goes into detail about the condition of subject 1172. The doctor remarks that despite an initially bad emotional response, the subject was showing signs of improvement. They attribute it to socialization with other subjects.
Cole’s Journal: Entry #1
The first entry in Cole’s Journal can be found when the player reaches a large, mostly empty room, after gaining the Red Hand and solving the first puzzle in the prison cell blocks area. The note is insidethe room to the right of the warden’s officeon a chair.
The note belongs to a security guard named Cole who recently got reassigned. He tells the readers about the time his friends were murdered by the toys that playtime was holding, and how he survived.

Weekly Checkup: 1424
When you encounterthe red gas in the lower part of the prison cell blocks, you’ll need to get a yellow valve crank tool from the other side of the block. There’s a note in the work station next to the tool.
This note describes a weekly checkup regarding subject 1424, who is in dire condition with no control of muscular movement, emotional instability, and memory loss. The doctor concludes that these symptoms are likely caused by an error in the procedure.
Prisoner Profile, Experiment 1166
After solving the CAGE code puzzle, breaking the window, and using the electric grab pack to progress, players will come across a room withtwo shutters held open by large boxes. In here, there is a storage cabinet with a note on the bottom shelf.
This note was written by Dr. Harley Sawyer, who mentions Subject 1166, who the player later finds out is Yarnaby. He mentions that 1166 doesn’t have any higher cognitive function, but acts similar to a domesticated animal. Sawyer decides to train 1166 and use it as his bodyguard of sorts.
Prisoner Profile, Experiment 1163
The next note that players can find is in the Containment Zone, inside a prison cell with the letter 6 above it. The observation window for this room is broken.
This note is also by Dr. Sawyer and mentions his failures with Subject 1163. The description makes it obvious thatDoctor Sawyer is talking about Pianosaurus. He considers this subject to be a failure as well, since it also lacks higher cognition.
Cole’s Journal: Entry #2
The first timethe player encounters Yarnaby in Chapter 4, Doey distracts it with fire. When Yarnaby moves away, you can grab a note from the storage cabinet to your right before climbing into the vent.
This is the second entry in Cole’s Journal, where he writes about his co-worker who thinks that the sentient toys being held in the prisons are more than just monsters or beasts. Cole expresses his disbelief, but the seed of doubt is implanted in his mind.
Cole’s Journal: Entry #3
Aftercoming out of the vents when avoiding Yarnaby, players will find themselves in a calm room with large cabinets. There is a note from Cole on the lower shelf of an empty cabinet.
Cole writes about his doubts. The consequences of snooping around aren’t pretty, but he risks it anyway, getting his hands on a few prisoner profile documents. These documents all mention human subjects.
Cole’s Journal: Entry #4
Go straight after dropping down into the storage roomafter successfully running away from Yarnaby. You’ll find Cole’s last journal entry next to the third door to your left on a stack of file organizers.
Cole talks directly to the reader and asks them to make sure that nothing like this ever happens again. He, alongside all the other guards, have been caught and locked in the same prison cells that the toys were previously in. The toys broke out and imprisoned the guards who abused them.
Reconnaissance Report: 12.15.04
When you start following Doey, you’ll come across a hallway with a collapsed roof blocking the path. Go around the blockage by entering the room to your right and using the hole in its wall to reach the next room. Then, instead of going to where Doey went, go into the room in front of you and use the hole in its wall to enter the neighboring room. Here, you’ll find the Reconnaissance Report.
This report is written by an unknown author, though they seem to be a survivor of the Hour who is looking for a way out. They systematically go through each option, disregarding each of them as too dangerous.
A Cryptic Letter
The next note is inthe body bag room with the lever puzzle. When you enter the room, crawl under some knocked-over cabinets. You’ll find the note to your right on the bottom shelf of a standing cabinet.
The note was presumably written by someone from Playtime who invited Mr. and Mrs. Ayers to come back to Playtime for a chance to get back their son. They are instructed not to show this letter to anyone. The videotape “1322 Report: Jack” gives more context.
Project Overview: Safe Haven
Players can find this note at different points during their exploration, as it is located inthe Infirmary in Safe Haven. It is on top of a medicine cabinet that is to your right when you enter the Infirmary and go towards the giant hole at the back.
The document seems to be a report by the construction company which lists out the requirements for creating Safe Haven. The contractor thinks it’s a misprioritization of resources.
Subject 1322C Report
The subject report on 1322C, a potential candidate for the creation of Doey, can be found inthe water treatment plant in the sewersthat players can access by going down the large hole in the Infirmary of Safe Haven. After players cross the bridge in the treatment plant, they can find this note on the control panel to their left.
The note is a counselor’s report on Subject 1322C, a 15-year-old child named Matthew Hallard, who is considered a dream child. The counselor even suggests hiring him if Mathew ages out of the orphanage.
Reconnaissance Report: 01.10.05
After exiting the water waste treatment facility, players can find another note underneath some tents to the right of the door, right next to the wall. It was written by someone from Safe Haven who says that the Prototype has been getting past their traps. It even got to the door and tapped on it for a while before leaving.
Propaganda Flier
After bringing the power back upand activating the hand scanners, you have a little bit of breathing room before Yarnaby runs after you again. It’s the perfect moment to find the Propaganda Flier in the area to the right of the main exit of No Man’s Land, where the two hand scanners are located. Use the switch next to the marked container to redirect power and open the grate. From there, go right until the end of the path, and then turn left into the room lit by a red light. You’ll find the note on a few boxes behind a pillar with a few large cabinets next to it.
The flier seems to be an attempt at psychological warfare by either the Doctor or the Prototype. It is addressed to the toys living in Safe Haven who are resisting the Prototype, telling them that following Poppy will only lead them to death. If they give up in the next 24 hours, their lives will be spared.
Secondary Lab Instructions
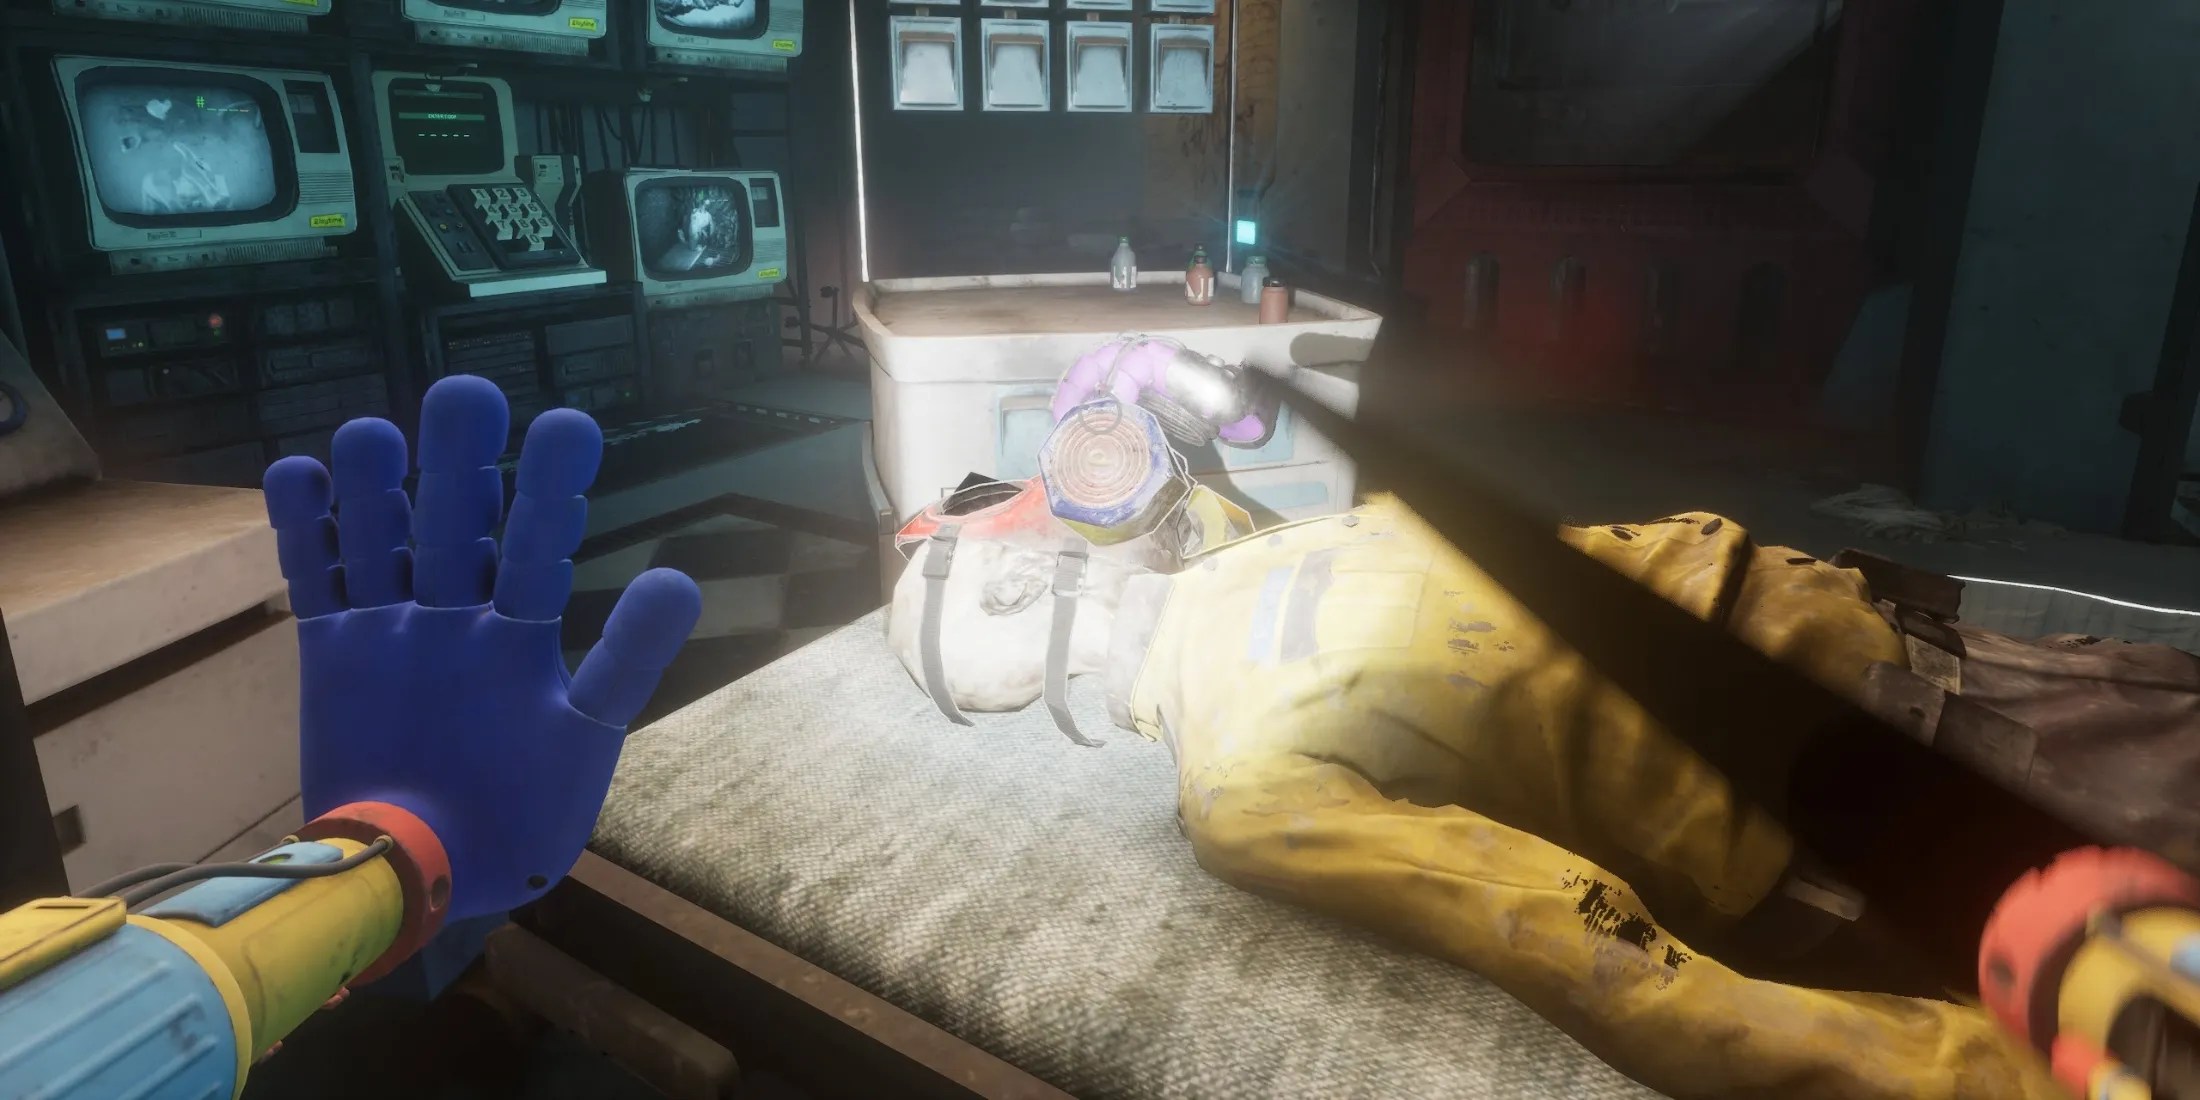
The first note in the Secondary Lab (the area which has the maze filled with red gas) is in the first operating room, in the hands of a corpse lying on top of the operating table in the middle of the room. The note mainly serves as a hint for players on how to solve the puzzle and obtain the code. However, it also introduces someone called “The Foreman of the Misfit Pit.” The Misfit is a playable map inPROJECT: PLAYTIME, a spinoff co-op game that takes place before the events ofPoppy Playtime.
Secondary Lab Mission Statement
Another note is found in the fourth operating room inside the red gas maze area. Though the doors to this room are closed, players can enter through a vent using their grab pack. After crawling through the vent, players can find a note to their right in an area filled with circular benches on the upper floor.
The note gives anastounding revelation regarding Dr. Sawyer. He let his ego blind him and went rogue, and was replaced by another doctor who was tasked with extracting everything possible from Dr. Sawyer. Evidently, the new doctor wasn’t successful.
Young Geniuses Program Removal Letter
Once youcomplete the puzzle required to reach the doctor, defeat him by taking a keycard from his console and shutting down the system, keeping him alive. Afterward, get the Omni-Hand upgrade to the Red Hand. However, there is an area behind the doctor that contains a tape and note which can only be accessed with a special key card.
To get the key card, leave the doctor’s room and go opposite to the way you came. Right outside, you’ll see a small section of the corridor with two television monsters huddled around a key card. Pick it up. If you may’t find the key card, retrace your steps from the control room and go to the right side. Follow the glowing pipes, but instead of going up the stairs at the end of the maze, keep going forward to reach the key card.
The note is a letter from the former owner of Playtime Co., Elliot Ludwig, to Doctor Harley Sawyer. He rejects the doctor from the young geniuses program, citing his lack of humility.
An Untitled Poem
The untitled poem is in the caged area behind Safe Haven that players can access using the electric hand after coming back from the doctor’s domain. You will find a note on one of the lower shelves of the cabinets. The note contains a cryptic poem that reads:
“On felted feet and with bated breath, Sleep draws ever near, Over paths turning clear, But I am not afraid of death, For we have already met.”
Foundation Operator Note
Duringthe final sequence of the fourth chapter, players are tasked with blowing up the foundation by planting four explosives. In the main control room of the foundation, players can find a note stuck on the screen of the computer.
This note gives instructions to the operator regarding how to behave in the new job, emphasizing secrecy. It reiterates what one of the signs in the same area says: that mixing the three gases in the foundation along with the red gas makes an extremely volatile compound that can blow up the facility.
